This is the angel food cake...

...I made for
my angel on her first and again on her 18
th birthday.
I love when things come full circle.
It's an old family recipe.... my husband's grandmother's. But I've never found one better.
I've picked up some angel food tips from a variety of sources along the way and I'll share those, too.
The result is a light, airy and delicious cake.
My husbands grandma used to say, "It's all air. You can have as many pieces as you want."
The last time I made it my son's friend had four. "Is it really all air?" he asked.
"Sure," I said. "If it makes you feel better."
Ingredients:
CAKE:
1 1/2 cup egg whites (about a dozen)
1 cup cake flour
1 cup plus 1/2 cup sugar
2 Tablespoons cold water
1 1/2 teaspoon cream of tartar (I like
Penzey)
1 teaspoon vanilla
1/2 teaspoon salt
TOPPING:
Ingredients:
2 cups heavy cream
1/4 cup sugar
1/4 cup cocoa
1 teaspoon vanilla
1/4 teaspoon salt
Instructions:
1. Sift and then measure 1 cup cake flour
2. Add 1/2 cup sugar and
re-sift SIX times
3. In another bowl, using an electric mixer on high, mix egg whites, cold water, cream of tartar, vanilla and salt. Beat until egg whites hold a stiff peak but are not dry. Stop while mixture is still glossy.
4. Fold in 2 Tablespoon at a time the remaining 1 cup of sugar.
5. Carefully fold in the sifted flour and sugar
6. Do NOT butter the 10 inch tube cake pan
7. Gently pour batter into pan
8. Run a thin sharp
knife through the batter to pop any large air bubbles.
9. Bake in preheated 350 degree oven for 40 minutes.
10. When cake is done, invert pan on funnel or narrow bottle to cool.
Cool completely before removing.
11. Run a thin knife around pan before trying to remove cake. If you use a pan with a removable bottom, this will be much easier.
TOPPING
Ingredients:
2 Cups whipping or heavy cream
1/4 cup cocoa
1/4 cup sugar
1 tsp vanilla
1/4 tsp salt
Instructions:
1. Combine ingredients and chill for one hour.
2. Beat until it holds a stiff peak and isn't shiny.
3. Spread on cake just before serving.
4. Garnish with fresh strawberries.
Here is a photo guide to this recipe. You may notice this is a different kitchen. I'm baking at the cabin. Without my usual tools and supplies.
But here goes!!
I'm going to include some tips for successful angel food cakes I've collected over the years.
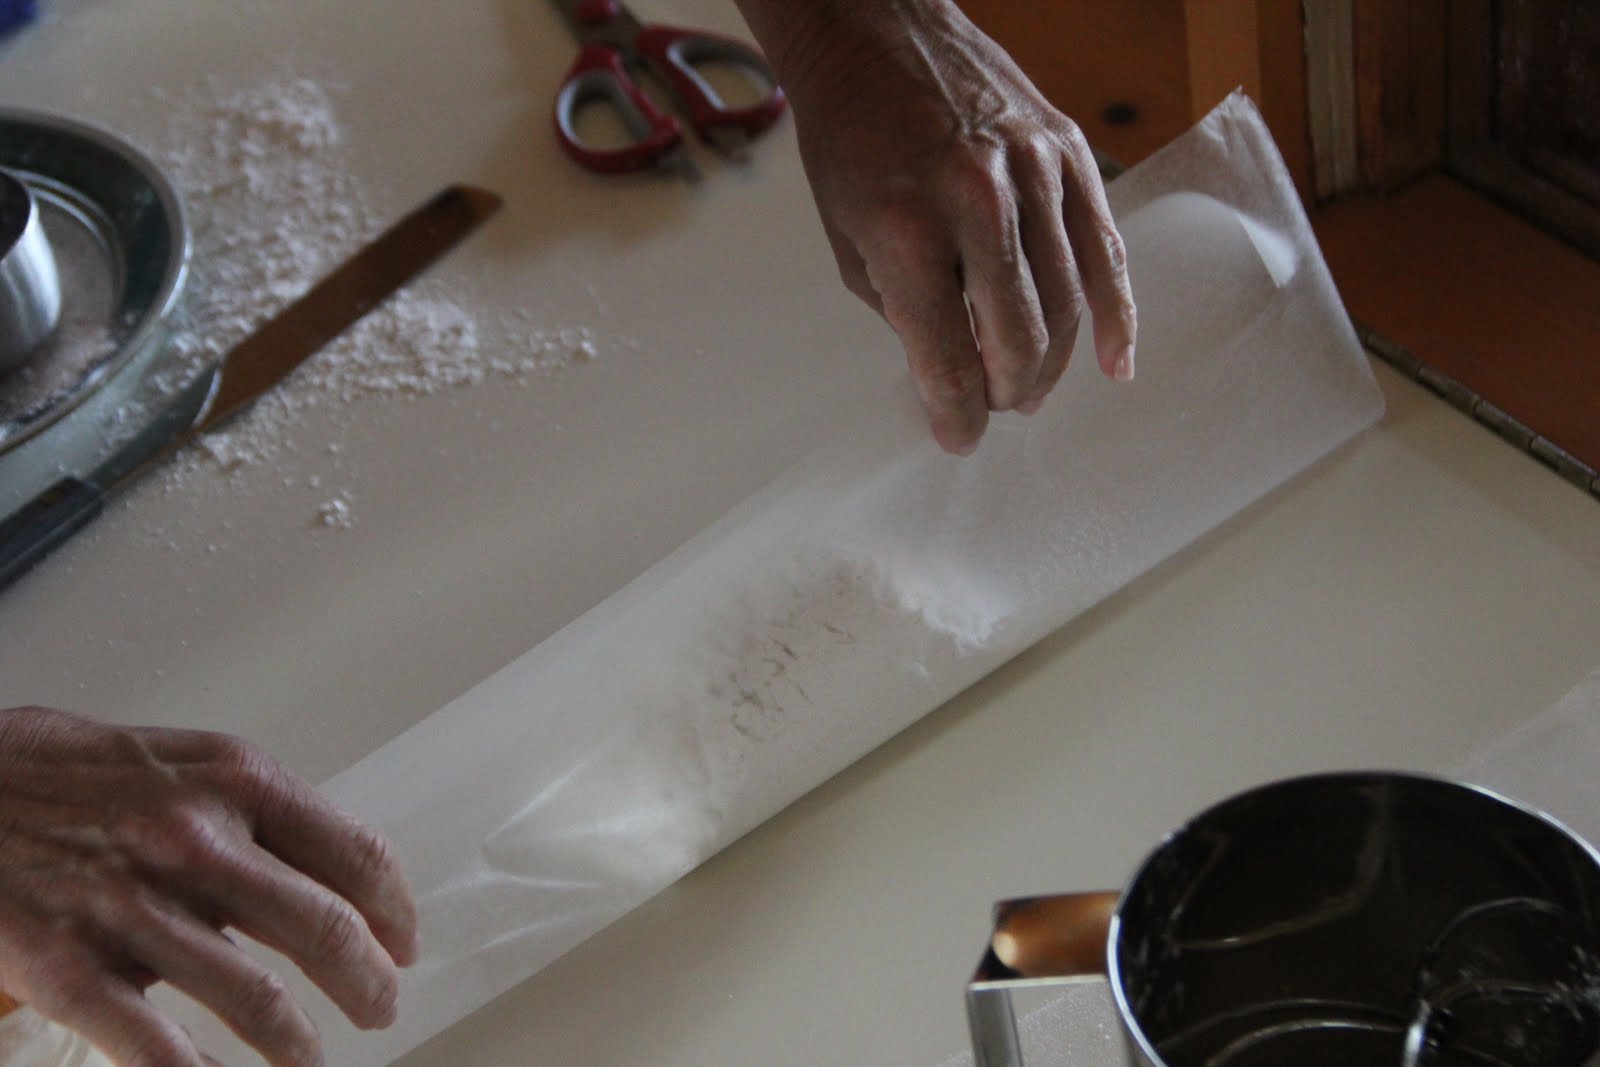
Multiple siftings are easy if you use waxes paper instead of bowls. Watch.
Be sure you pre-sift your flour before measuring out 1 Cup flour.

Sift 1 cup flour and 1/2 cup sugar together onto a piece of waxed paper.

Fold up the edges of the waxed paper to make...

... a kind of funnel.

Pour the sifted flour and sugar back into the sifter.

Make sure the sifter is sitting on another piece of waxed paper.
(By the way, I prefer a sifter with a turn crank rather than a handle you squeeze. It lifts and fluffs the dry ingredients more. And who wouldn't want to be lifted and fluffed).

Sift the flour and sugar again. Using the waxed paper funnel, go back and forth until the dry ingredients have been sifted six times.

If you want, the final time, you can sift them into a bowl and set them aside.
Or you can just leave them on the waxed paper.
It's up to you.
Here are a few more tips:
Don't use fresh eggs. The cake rises better with eggs you've had sitting in your refrigerator for a couple of weeks.
Also, I bring my eggs up to room temp before making the cake.
You need a lot of egg whites for this cake. Don't throw out the yolk. Save them and make my famous
homemade chocolate pudding. It is to-die-for!!

Okay, let's continue.

Separate the whites from the yolks by cracking the egg and gently passing the yolk
from one half of the shell to the other....

...letting the whites drip into a measuring cup below.

You need 1 1/2 cup of whites. From about a dozen eggs.

Add 2 Tablespoons COLD water to egg whites.

Add 1 1/2 teaspoon cream of tartar.
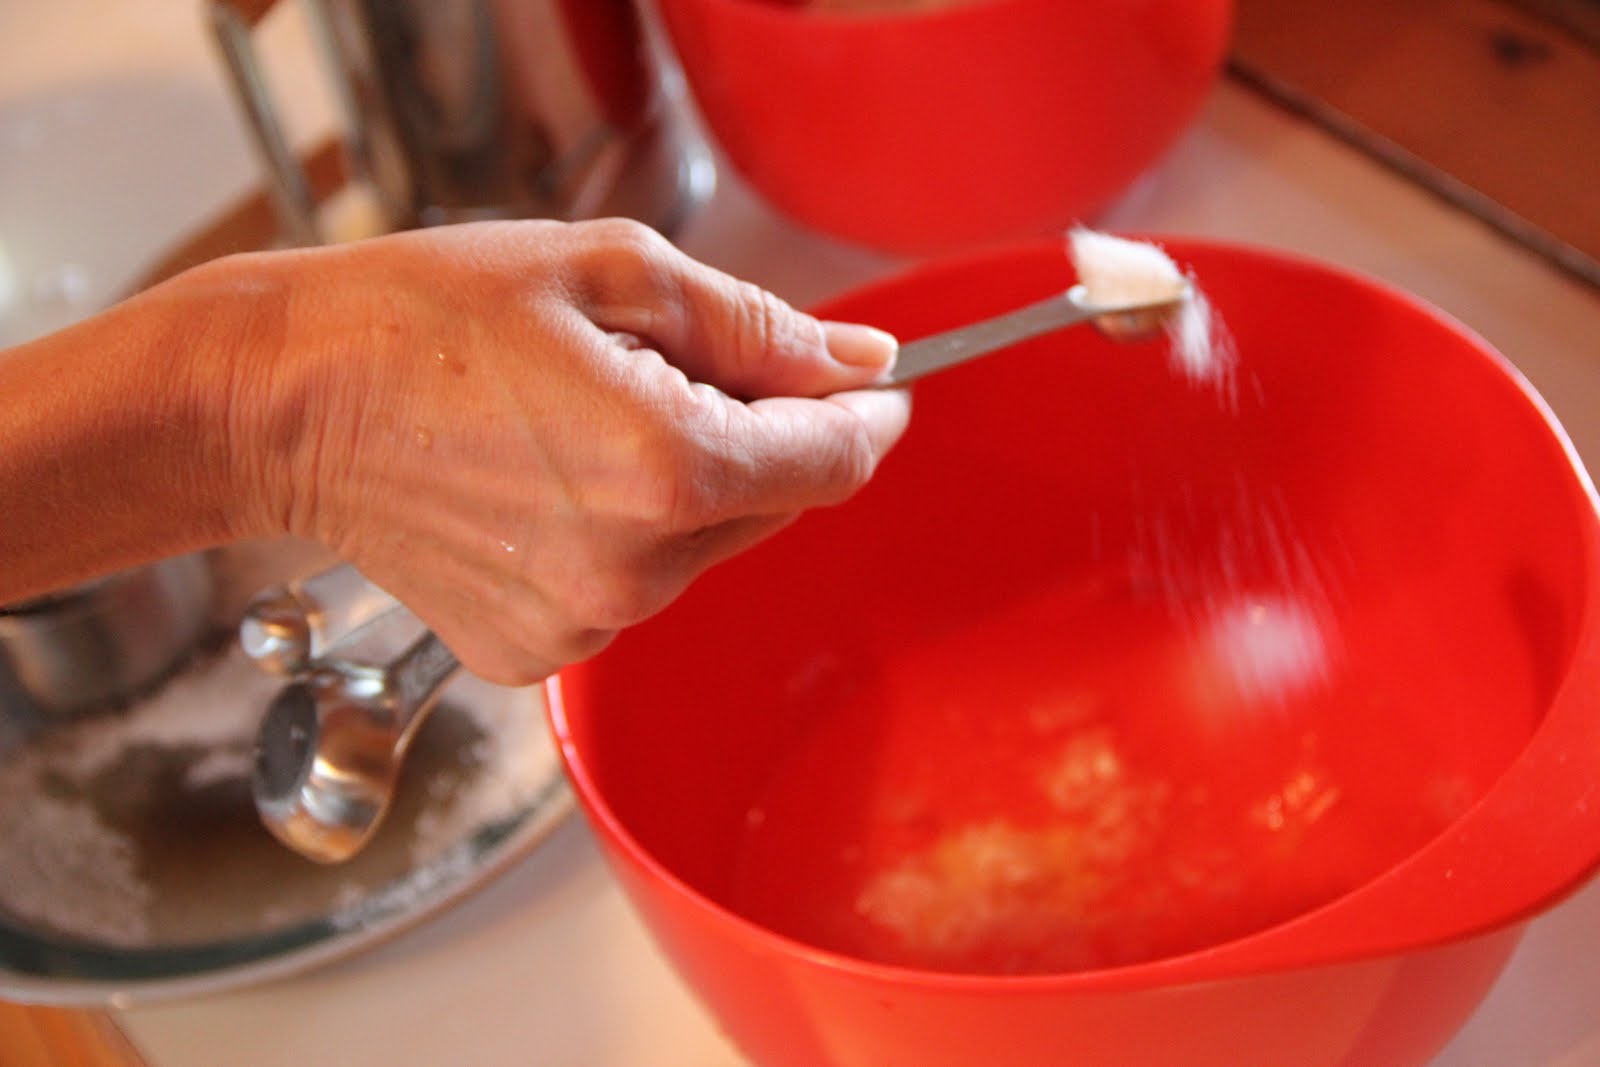
Add 1/2 teaspoon salt.

Add 1 teaspoon vanilla.

Beat until mixture holds a stiff peak but is not dry.
Stop while mixture is still glossy.
Instructions so specific, I apparently need supervision.

How do you like my old hand-held cabin mixer. I think they used to call this color avocado.
It still works well, decades later. The brand new hand mixer I had at home, however, lasted exactly two years.

Okay, it's getting nice and frothy and starting to set up.

But this is a soft peak... not firm. See how it bends over.
We have to keep going.

Almost there.

This is what I call some stiff peaks. But the mixture is still moist and glossy. Remember that's important, too. Timing is everything.
Actually, don't sweat it. I've never goofed up this cake!

Now, fold in the remaining 1 cup of sugar 2 Tablespoons at a time.

Then carefully fold in the dry ingredients...remember the four and sugar mixture you sifted and sifted?

Do you remember how to fold ingredients together?

It's very different from just stirring.

Because it prevents you from smashing all the tiny light...

...and lovely air bubbles out of the batter.

Here, I'll run through it again:

When you have all the ingredients in the bowl, cut straight down with the spatula.

Gently, scoop along the bottom of the bowl.

Bring the spatula straight up the side and gently fold the batter over.

Continue gently, with supervision if necessary, until the ingredients are incorporated.

Dixie is now checking to make sure I did NOT butter the 10 inch tube pan. If you butter it, the cake will not be able to
cl mp up the pan as it tries to rise. And that would be sad.

Not too close, Dixie. Not everyone is as fond, or forgiving, of doggy noses as I am.

Gently pour batter evenly in pan.

Run something with a very thin straight edge through the batter.

This will get rid of any large air bubbles. Unlike other kinds of cake, you do NOT tap this cake pan on the counter to get rid of small air bubbles. You want the air to keep this baby light and fluffy.
Bake in a preheated oven at 350 degrees for 40 minutes.

Come on, isn't this the prettiest thing you've ever seen?
How do you like my mis-matching cabin oven gloves, stained dark from roasted corn on the cob?

Invert the cake pan on a funnel or bottle with a narrow neck to cool.
I love this vintage funnel.

Ah, more supervision.
This time...

... my brother-in-law making sure I've got things just so.
By the way, I use a cake pan with a removable bottom. That makes it a billion times easier to get the cake out of the pan.
Here...

I'm beating the chocolate whipped cream topping.
I've combined the whipping cream, cocoa, salt and vanilla and let them chill for an hour.
Then I beat at high speed until the cream holds a stiff peak.

Brush loose crumbs from cake before spreading on topping. It just makes it easier and neater.

Spread it on. Do this right before serving.

If you prefer, you can slice the cake without the topping and just serve it with a dollop of the whipped cream. But I like it this way.

Garnish with fresh strawberries.
Serve immediately.
Keep leftovers refrigerated.
It's nummy for breakfast the next day.
And remember, it's all air, so you can eat as much as you want.
Grandma says so.




 It's super easy.

 I love beets.
 "Colorful meal!" my daughter's friend said.